- Located in Lusail, just north of Doha, Qatar.
Opened in 2004.
Originally named Losail International Circuit, renamed Lusail in 2023. - Length: 5.419 km (3.367 miles).
16 turns: 6 left and 10 right.
Long straight: 1.068 km (0.664 miles), ideal for high-speed overtakes.
Run in a clockwise direction.
Built in just under a year, with over $58 million USD invested. - Hosted its first MotoGP race in 2004.
Became famous for being the first MotoGP night race in 2008.
A regular venue on the FIM MotoGP calendar - Debuted on the F1 calendar in 2021 with the Qatar Grand Prix.
Due to World Cup 2022 preparation, Lusail skipped the 2022 F1 season.
Returned in 2023 after a full facility upgrade, with a long-term contract until 2032. - FIA WEC Race Lap Record: 1:39.748 – Matt Campbell – Porsche 963 – 2024
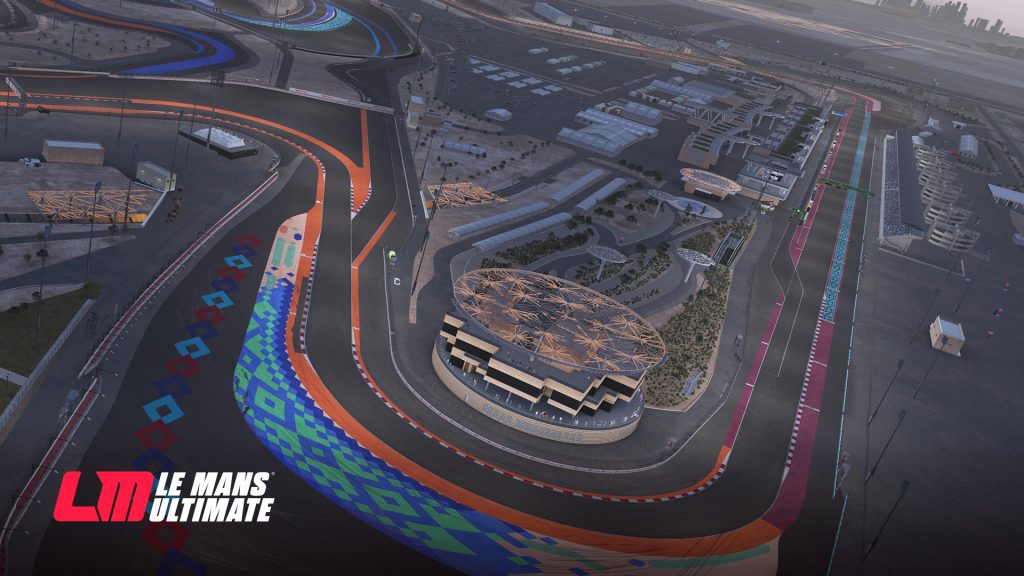
Turn 1
Turn 1 is a long U-shaped corner that’s taken in 2nd gear in both the LMGT3 and Hypercars.
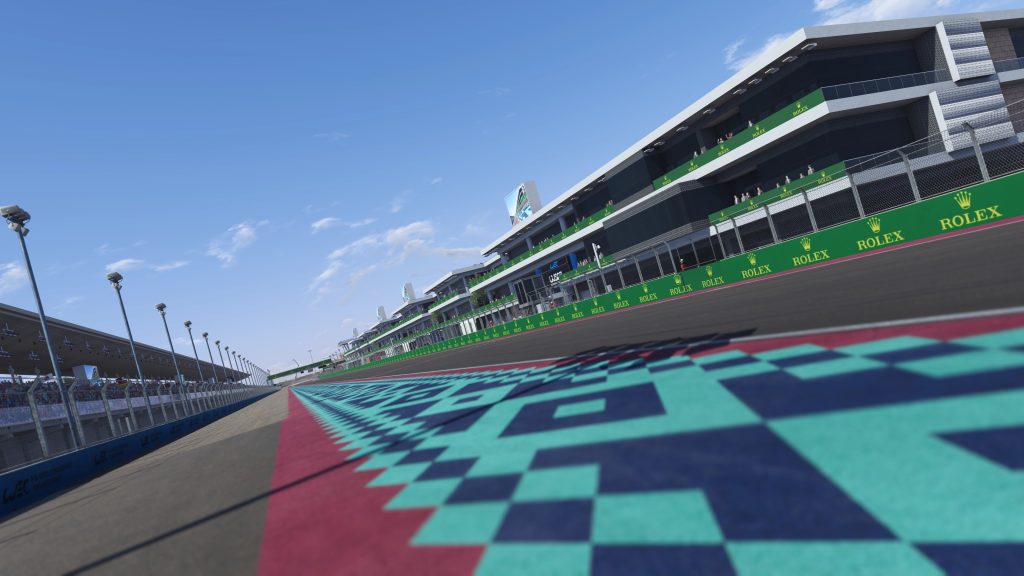
Heading down the long start finish straight, which is 1.068km, keep to the left and, as always, focus ahead to spot your braking reference. Bring the car over onto the left-hand side entry curb, which is painted red and white. Using all the road available, keep just the right-hand side tyres within the white line. It can vary depending on which car you are driving, but a good brake reference is around the 100m board. It is possible to brake halfway between the 100m and 50m boards if the setup and track conditions allow.
Use the engine braking, and you shift down to 2nd gear. Your turning point is about a car length after you pass the 50m board. Turn in progressively, aiming to get your inside tyres onto the inside red and white curb for a roughly early to mid apex. Don’t use the painted orange area. Be patient in the mid corner and stay tight with the curb as the car rotates.
As soon as the rotation has happened, start to feed progressively back onto the throttle. While doing this, slowly open the steering wheel and allow the car to drift towards the exit curb on the left. A good reference to know if you’re exiting correctly is to see at what point you are reaching the curb. Ideally, you want to be reaching it just as the gravel trap on the left ends. This will ensure you have carried the best possible momentum through the corner.
Almost immediately, bring the car back over to the right to open up the entry for Turn 2.
Turn 2
Turn 2 is a long U-shaped left-hander. It is taken in either 2nd or 3rd gear.
It’s important to try to bring the car back over to the right as much as possible from the exit of T1. This will open up the entry and allow you to carry more speed into the corner.
Your braking reference is the right-hand side red and white curbing. Brake about half a car length after you reach this curb on the right. It’s not a hard braking zone; it’s more about slowing the car down enough while using the aero to enter the corner. You’ll be turning in pretty much from when you hit the brakes, so try to angle the car towards the corner as you brake. Shift down to 2nd, aiming for a mid to late apex.
Trail brake all the way to when you reach the inside curb. There’s a small coasting window before getting back onto the throttle. Again, this is to allow some rotation. Aim to reach the exit curb roughly at its halfway point. You can use the curb as much as needed, but remember to keep two tyres inside the white line.
Turn 3
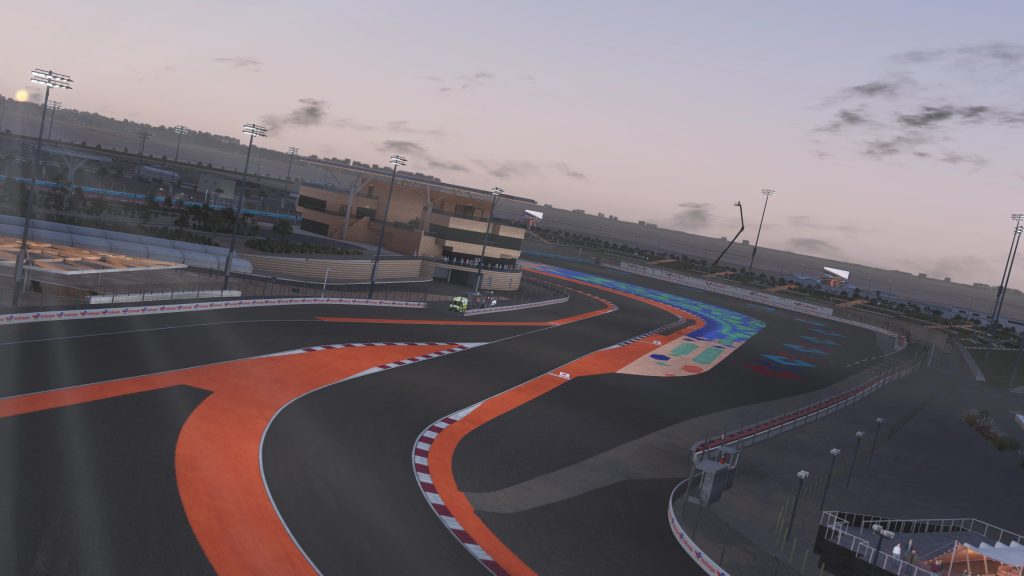
Turn 3 is a fast, curved right-hand bend.
It is easily flat out in both LMGT3s and Hypercars. Use the inside red and white curb to shorten the cornering distance and maintain a smooth steering input to reduce any scrubbing of the front tyres.
Let the car drift to the left on the exit. A good line generally lets you reach the exit curb about a car length and a bit before the white line juts out to the right.
Turns 4 and 5
Meet Turns 4 and 5, two medium-speed right-handers that form our first sequence on the circuit. It can be taken in 3rd or 4th gear, depending on the car you are driving.
From the exit of T3, stay left and use the entry curb all the way to the brake zone of T4. All while keeping two tyres inside the white line.
On the approach, look for your brake marker on the left, which is the 3rd and left-hand side. Again, turn in as soon as you apply the brakes, and use trail braking to aid in helping the car balance. Aim to get as much of the apex as possible, really get those inside tyres as close to the orange surface on the inside without cutting the corner.
Be patient on the throttle as the car will be fighting for traction. Ease the car back over to the left to open up Turn 5. Use the exit curb and aim for where the gravel ends on the left. This is your turning point for T5. Depending on the car, you shouldn’t really need to brake. In most cases, just lifting off the throttle will do. Aim for a mid to late apex. Again, using all the curb on the inside. The exit is a lot wider than you think, so that’s why you can carry more speed and get on the power a bit earlier than in T4.
Your left-hand side tyres should just reach the exit curb before you have to bring the car over to the right for the braking zone of Turn 6.
Turn 6
Turn 6 is a slow left-hand hairpin; 1st or 2nd gear is recommended.
On the approach, bring the car back over to the right, getting the right side tyres up onto the entry curb. Spot your braking marker, which is at or just after the blue GoodYear board on the right.
From 4th, start shifting down and really start to turn in as you get into 2nd gear. Trail brake all the way into the apex, aiming for a mid-apex. Get your inside tyres up on the red and white kerb while immediately feeding back onto the power to get a good exit.
Start to unwind the steering and get to the exit curb just after it starts. Use as much as needed while staying within the white line with your right-hand side tyres.
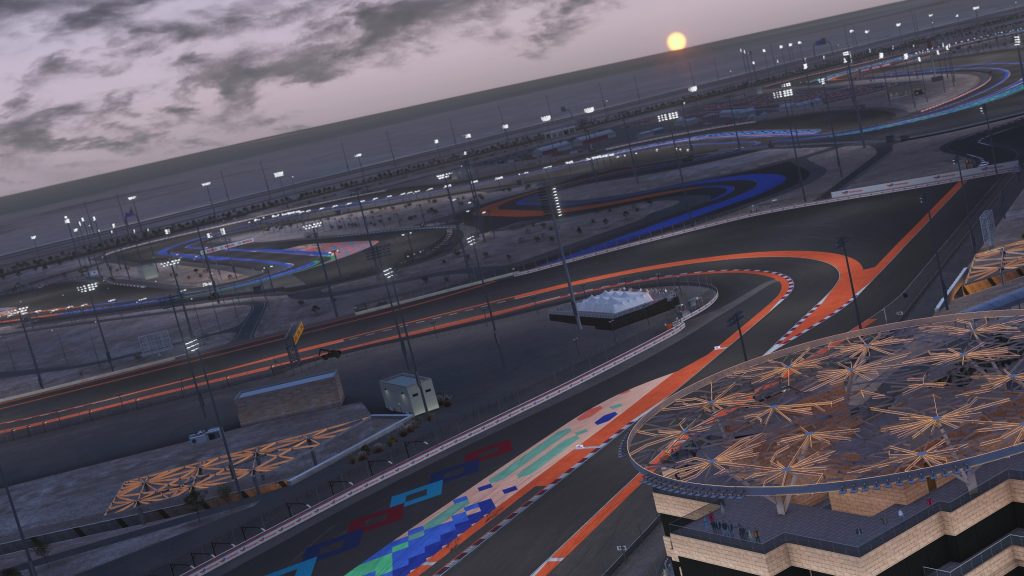
Turns 7, 8, 9, 10
Onto another set of corners that make up a very fast and flowing sequence. Starting with Turn 7, which is a long U-shaped medium speed right hander, which feeds directly into Turn 8, a long flat-out left hand bend. This then goes into a fast, short apex right-hander, followed by Turn 10, which can be considered an open slow left-hand hairpin.
To start, on the approach into T7. Come over to the left and get your left-hand side tyres onto the entry curb. Your braking and turning in point reference is just as you pass the 2nd Bosch board on the left. Use 2nd or 3rd gear on entry and aim for a super late apex. Be patient and wait for the car to rotate before progressively getting back on the throttle.
Aim to reach the exit curb roughly a car length after it begins. Make sure to unwind the steering to get to this point and use all of the curb available. If you get to the curb too early, then you didn’t apex late enough.
Stay on the curb the entire duration of T8 which is the fast, flat-out left-hand bend. This will allow you to open up the entry of Turn 9.
Heading into T9, stay left and wait for your turn at the point, which is roughly 2 car lengths before the entry curb ends on the left. The corner is fast and has a short apex. You might need to just dab the brake; otherwise, in some cases, a lift as well as shifting down to 3rd or 4th gear will do the trick. Once you’ve turned in, aim to use the entire inside curb and get back onto the power just as the car comes off the curb. Due to the relatively high speed, you can get back on the throttle a lot faster.
Don’t let the car run too wide on the exit, as you’ll need to immediately get the car back over to the right to open up the entry point for the Turn 10 hairpin.
Get back over to the right and as close to the white line as possible. Your braking point is the halfway point in the access road on the right. Turn in as that access road ends and the blue paint starts.
Shift down to 2nd and try to carry rolling momentum into the corner, focusing on getting to the inside curb at its midway point. Use the curb with your inside tyres to get rotation and get back on the power relatively quickly to use as much of the wide exit as possible. The limiting factor is the white line, so keep 2 tyres inside of this.
Turn 11
An easily flat-out left-hand bend.
Use the inside curb at the natural apex point and run it till it ends.
Turns 12,13, and 14
A very fast triple right-hand sequence, taken in 4th or 5th gear.
Approaching T12, keep to the left and look ahead for where the blue painted surface changes to orange. This is your turn in point. Just after this, you will need to apply some brakes depending on the car. Let the car roll in and aim for a mid-apex. Use the inside curb and focus on carrying good entry speed. If you find yourself wanting to get back on the throttle as you get to the curb, then you haven’t carried enough speed in. As the car starts to leave the curb, it progressively gets back on the power. At the same time, open up your steering and let the momentum and throttle take you to the exit curb on the left.
Look for where the gravel ends on the left as your turn-in point for the next right-hander. It’s a slightly shorter apex, which requires a lift off and potentially a dab on the brakes. Keep your rolling speed up and aim to use the inside curb once again.
Again, your momentum should carry you out to the exit curb. Look for where the gravel ends on the left and use this as your turning point. The last right-hander is the slowest of the 3 and requires slightly more patience. Again, lift off the throttle and potentially use a bit of braking. The key with Turn 14 is the exit. The tendency here is to run too wide and into the gravel as the exit is not as wide as the previous two corners. Be aware of this so you don’t invalidate your lap.
Use as much of the exit curb as you can get away with, and immediately look to come back over to the right for the entry of Turn 15. Also, be aware of how bumpy it is on the exit curb.
Turn 15
A medium speed left-hand corner. It is very flat and open, so all three phases of the corner, the entry, apex and exit are easy to spot. It’s taken in 4th gear in the Hypercars and 3rd gear in the LMGT3s.
The brake point is fairly similar in both categories, it’s at or just after the Michelin board on the right-hand side.
On the approach, get as far over to the right as possible without compromising your T14 exit. Look for the brake reference and brake fairly lightly towards your apex. Shift down the one gear required and start to turn in a car length after your brake reference. Aim for a later apex, using the inside curb.
Get back onto the throttle just after the apex and power the car out to carry as much momentum as possible. The car will naturally drift towards the exit curb, so unwind the steering wheel and be smooth.
As always, keep two tyres inside of the white line.
Turn 16
The final corner on this fast and flowing circuit is a medium-speed, long right-hander similar to T1. The exit is crucial here as it leads onto the 1km start/finish straight we spoke about earlier. Use 2nd gear in the LMGT3s and 3rd in the Hypercars.
Approaching the corner, stay to the left. You’ll want to have 2 tyres on the red and white entry curb as it starts. Look for the brake marker, which is just before the last Michelin board on the left. Brake towards the corner and downshift as you aim to start turning in where the orange painted surface on the left changes to maroon.
Trail brake into the corner and release the brakes just before you reach your apex. Use the inside curb as you wait for that final rotation. Once that rotation is done, just after the apex, get back onto the throttle and power the car out onto the long straight.
Unwind the steering and catch any oversteer as you look to maximise your run to the line. Use all the exit curb available while keeping 2 tyres inside the white line.
What a track, hope the guide helps and happy racing!