The Silverstone Grand Prix Circuit is a motorsport race track located in Silverstone, England. It is known for hosting prestigious motorsport events like the F1 British Grand Prix, British GT, British Toruing Cars, Moto GP and now, a return to the European Le Mans Series.
Silverstone Stats:
- The circuit has a length of 5.891 km (3.660 miles) and features 18 turns.
- The circuit features high-speed corners such as Copse, Maggots and Becketts, which are a favourite of drivers and fans alike.
- The Silverstone GP Circuit is the oldest continuously used circuit in the world, having first hosted a race in 1948.
- The circuit was built on the site of a World War II airfield, RAF Silverstone, which was no longer needed after the war ended.
- The first race at the circuit was held in 1948, and it was known as the Royal Automobile Club International Grand Prix.
- The circuit was originally used for both car and motorcycle racing, but it eventually became primarily a car racing venue.
- The British Grand Prix has been held at the Silverstone GP Circuit since 1987, with the exception of 2009 when the race was held at Donington Park.
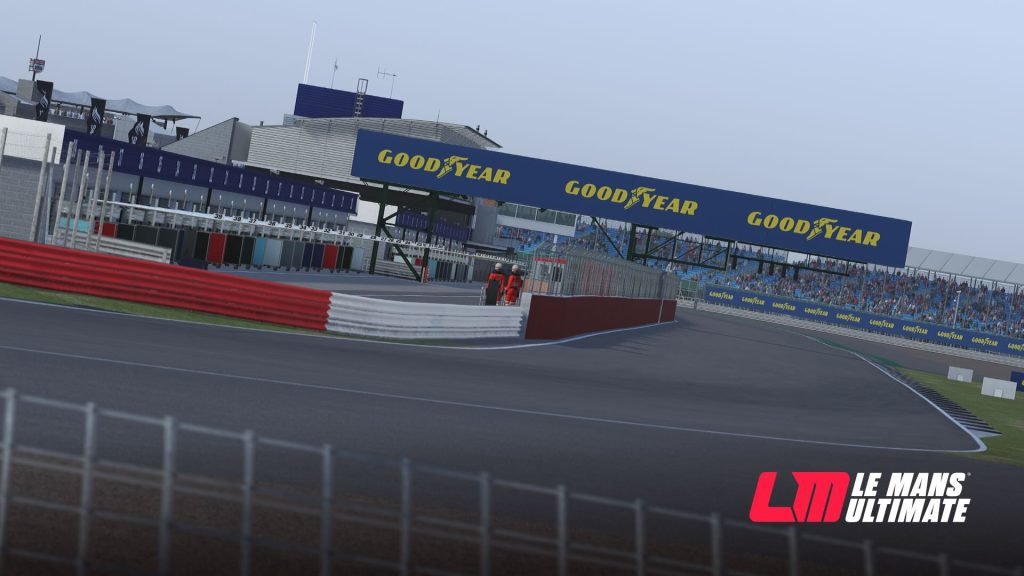
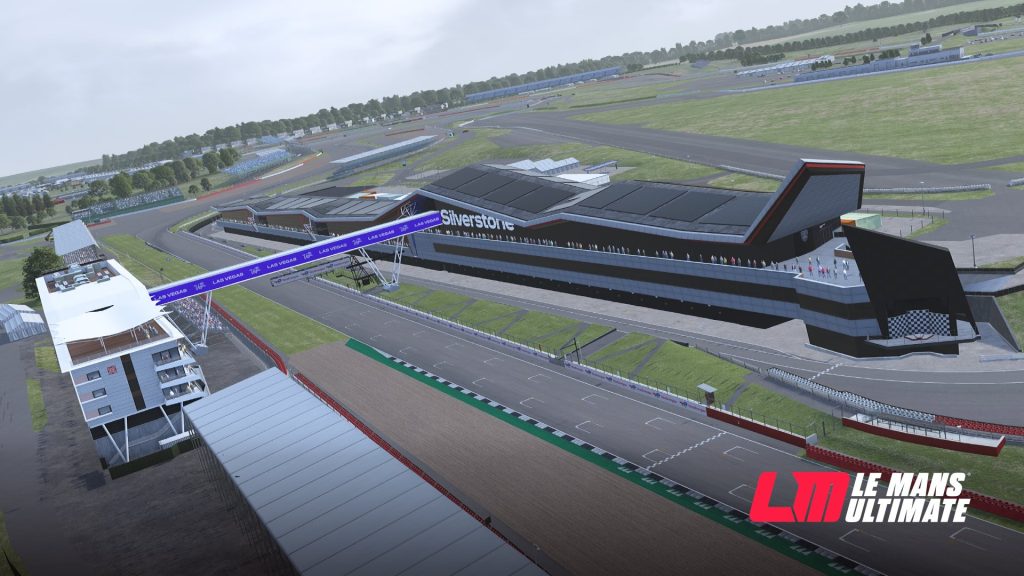
- In recent years, the circuit has undergone significant upgrades, including the addition of a new pit and paddock complex, and a new grandstand overlooking the final corner of the track.
- The Silverstone GP Circuit also hosts other major motorsport events, including the MotoGP British Grand Prix and the World Endurance Championship.
Here is a detailed track guide of Silverstone tailored to the European Le Mans Series and the LMGT3s, but can be used more generically.
Turn 1 (Copse)
T1 marks the start of a really high speed section of the track. Precision and smoothness really are key factors here. Copse is a very fast right hand sweep that leads onto another short straight.
Approaching the corner, stay left and use the striped kerbing as well to open up the corner. Just after the 100m board there is a lighter patch of grass. As you reach this point, stab the brakes and shift down to 4th before you start to turn in. The apex is completely blind so it’s important to have a good turning point as a reference as you fully commit to the entry here. Really crank the steering lock as you pass the 50m board and aim to apex the inside kerb in between the 2 orange sausage kerbs. Coast until you reach the apex.
At the apex get back on the power as soon as you can but watch out for the understeer on the exit as the car will naturally run wide onto the exit kerb. As long as your inside wheel stays within the solid white line you will not exceed track limits.
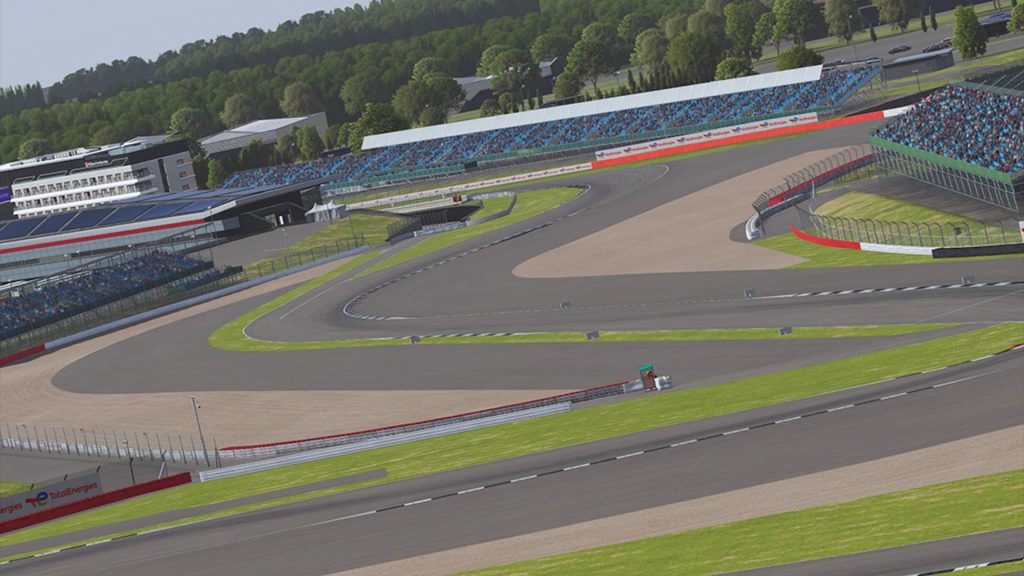
Turn 2, 3, 4, 5 and 6 (Maggots, Becketts and Chapel)
One of the most famous sequences of high speed corners is up next. Turn 2 and 3 are super fast left into right hand turns. Be precise and smooth with the steering to keep the balance of the car stable.
Approaching the corner, stay right and turn in early. It’s important to look far ahead to anticipate the corners coming up. Use the first left hand turn to open up the right hander. You enter the left turn flatout and as you pass the apex kerb, start to brake and shift down to 4th for the right hander. For the right-hand turn try to cut the inside kerb a bit and immediately get back to full throttle at the apex.
If you have done this correctly you should be positioned in the middle of the track for the entry of T4 which is a left-hand turn. As the inside green astroturf ends on the inside, start to brake once again and shift down to 3rd. Aim to apex and cut the kerb at the 2 orange sausage kerbs. Sacrifice a little bit of speed through this corner to really set up the exit of the following right hander.
For the last right-turn of the sequence, it’s all about getting the best exit possible. Coasting in, aim to get close to the kerb at the first orange block. Get 2 wheels on the track and 2 wheels onto the kerb as you immediately start applying the throttle. By the last orange block you should be flatout. Open up the steering and make use of the available exit kerb and astroturf.
It’s all about getting the flow right in that previous sequence and if you can get it right you’ll make up a lot of lap time.
Turn 7 (Stowe)

Stowe is a great overtaking spot as it proceeds the long straight. It is a long sweeping right-hand turn taken in 3rd gear.
Approaching the corner stay to the left, and prepare to start braking after the 100m board. Time your downshifts and get your braking done as early as you can. Turn in as soon as you start to slow down and aim to get to the inside kerb before the first orange block. At this point you will already be getting back on the power as you want to carry the momentum. Just after the last orange clock, get back to full power and open up your steering to use all the track on the exit. Keep 2 wheels inside the white line at all times.
Turn 8, 9 and 10 (Vale and Club)
The next sequence of the circuit that requires good use of the brakes, throttle and the ideal racing line. Turn 8 is a tight left hander that feeds into a medium speed right into a fast speed right-hand turn.
Heading into Vale, stay to the right and spot your braking point which is just before the 100m board. Brake hard and get through the gears quickly as you downshift from 4th into 1st gear. Turn in early and aim to hug the inside kerb. As you pass the apex keep it tight to open the following right hand turn.
For Turn 9 use a slight lift off the throttle to get the front end turned in and immediately get back on the power as early as you can. Watch out for wheelspin as the car will be fighting for traction at this point. Aim the car to the exit kerb and use this to open up the entry of the last corner.
Turn 10 is deceptively difficult. It is a flatout right hand curve but, too much steering angle or too much usage of the inside kerb will cause the rear end of the car to step out. Be wary of this.
However, too little steering angle will cause you to run out of room on the exit and you might exceed track limits just before the finish line. So drive the car to the limit of the front end grip and keep it smooth.
Turn 11 (Abbey)
Turn 11 is a fast sweeping right hander that is deceptively tricky. The entry is taken in 5th gear at high speeds and your apex is well hidden so precision is crucial.
Approaching the corner entry, position the car over to the left hand side. Following the outside kerbing look for where the grass ends and where the runoff road starts. This is between the 100m and 50m board.
As you reach the road, start to turn in whilst progressively lifting off the throttle. You’ll be aiming for a latish apex and you’ll want to get your inside tyres over the orange sausage kerbs while keeping your outside wheels inside the white line. Don’t get too greedy here as you will exceed track limits and will ruin your lap.
While going through the corner keep your steering inputs smooth to avoid any scrubbing of your front tyres. As you pass the apex start to get back on the throttle. If you have carried too much speed you will find that you run out of road on the exit. Keep your steering lock as you try to open the entry for Turn 12.
Turn 12 and 13 (Farm Curve and Village)
Turn 12 is a flatout left hand curve. Keep your steering smooth once again to avoid scrubbing and your main aim here is to not run wide on the exit. You’ll want to keep it nice and tight and stick left to open the entry for Turn 13.
Turn 13 is one of the heavy braking zones of the lap, where you’ll need to get the car stopped to make a sharp right-hand turn.
Keeping left, lookout for the 100m brake board. Get on the brakes hard initially as you downshift from 5th down to 2nd gear. Start to trail brake and as you pass the 50m board. From here you’ll also want to start turning in.
It’s about keeping it tight here on the apex and getting on the power early, so don’t square off the corner. Rather drive the car into the apex. Just before you reach the apex, you should be off the brakes and already slightly on the power to help rotation as well as keep momentum. Don’t run the car out wide on the exit as you’ll need to come back over to the right for the entry of Turn 14.
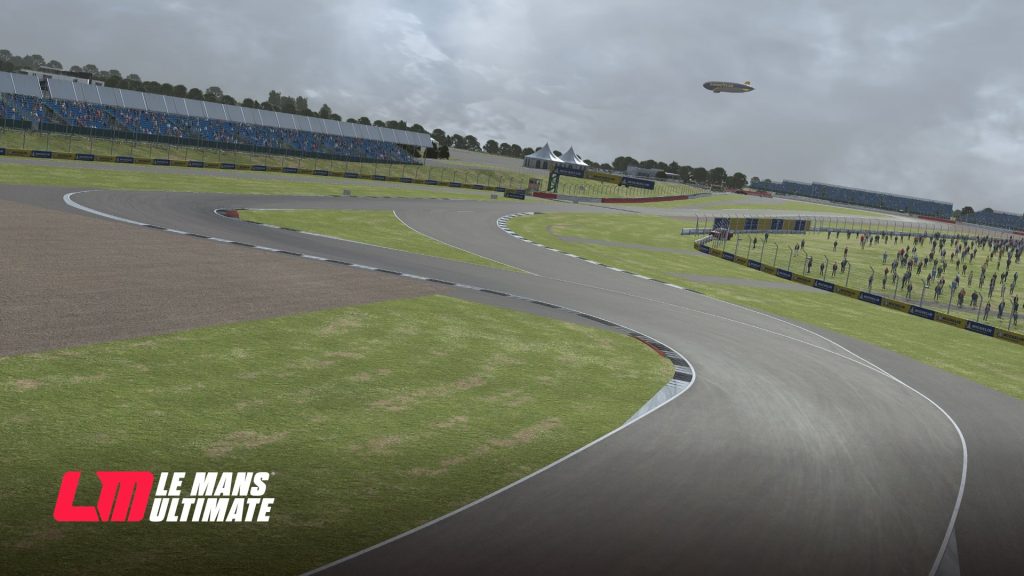
Turn 14 and 15 (The Loop and Aintree)
Turn 14 is a tight left-hand hairpin and it is the slowest corner on the track. It is crucial here to get a good exit as this corner leads on to the Wellington Straight.
Approaching The Loop, look out for a green astroturf patch on the inside of the track, this is your turning in and braking reference. Move the car closer to the outside to try and open the entry and as you come alongside this green patch, hit the brakes and gear down to 1st. Trail braking is key here to get the front end to respond to the sharp steering input.
Turn in earlier than you think as you catch the inside kerbing and immediately get on the power as fast as your traction will allow. The exit is also wide so open up your steering as you apply throttle to maximise the road usage. If need be slightly short-shift up to 2nd to help get the best traction. If you did not apex correctly you will understeer off onto the grass as you fight the car to get on the power early.
Turn 15 is an easy flatout left hand curve. Keep steering smooth and precise as you turn in early. Aim to cut the inside kerbing and gently open up the steering on the exit. Avoid running wide on the exit and exceeding track limits.
Turn 16 and 17 (Brooklands and Luffield)
Turn 16 is a long U-Shaped left-hand turn. It has a fast wide entry but quickly tightens up on you on the exit.
Stay right as you approach the corner. Start to brake just after the 100m board so around the 75m mark. Immediately start trail braking as you turn in and keep it tighter than you think.
Because you are turning and braking at the same time it is important to time your downshifts to keep the rear of the car stable. Shift down to 2nd and aim to cut the inside kerb very late (just after the 2nd orange sausage kerb).
Try to get on the power at the apex to carry momentum into Turn 17 but don’t be too eager on the power as this will cause wheelspin due to the lateral forces on the tyres still being high at this point. Don’t run wide on exit and it will cause the entry of Turn 17 to become tighter. You almost want to drive straight between the 2 corners.
Turn 17 comes almost immediately at you after the exit of Turn 16. Luffield is the opposite to Brooklands in that it is a long U-shaped right-hander that opens up on the exit. It is another crucial corner due to it leading onto a straight.
Use the inside road turning into grass as your braking reference. As that road ends, dab the brakes and stay in 2nd gear to carry the momentum. Initially come close to the kerb and then let the car naturally run a bit wider.
Wait for the car to settle and coast until you see the 3rd orange block on the inside kerb. Here you will start to get back on the power as you come close to the inside kerb once again. By the 4th orange block you should be flat and already starting to unwind the steering to maximise the exit. The exit kerb is very lenient and you can use the green astroturf runoff area as well.
Turn 18 (Woodcote)
An easy flatout right hand curve leading onto the start-finish straight. Cut the inside kerb to reduce your driving distance and run the car out onto the left-hand exit kerb to cross the finish line.
This completes a lap at the Silverstone GP Circuit.