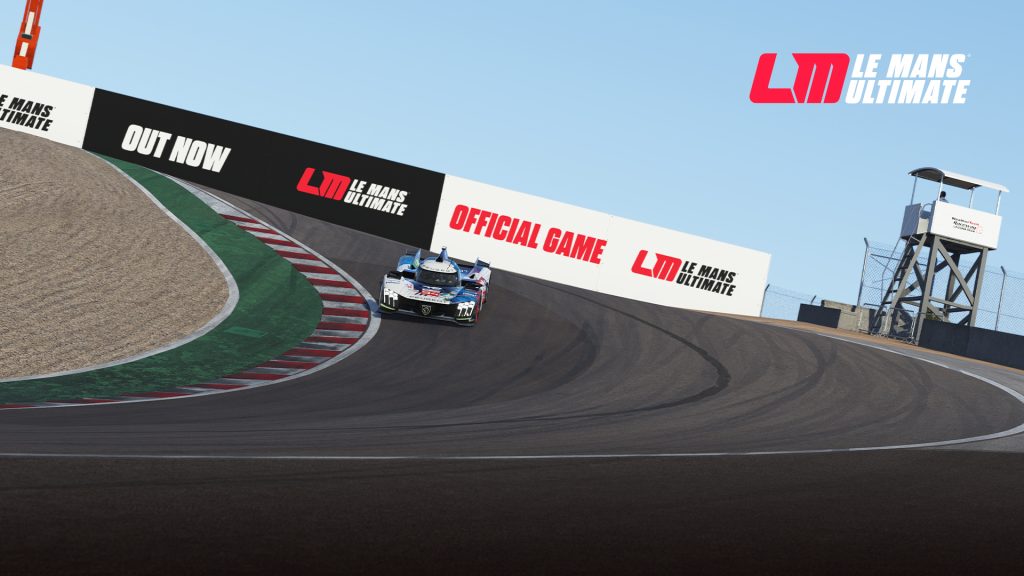
Short, narrow, and utterly relentless, Laguna Seca is one of the most famous road courses on the planet, and the corner that made it famous needs no introduction. Let’s walk you through what’s widely considered one of the best 2.2 miles in motorsport.
Before we dive into the lap, here are some nice-to-know facts about this Californian icon:
- Built in 1957 on the site of a former dry lake bed (Laguna Seca is Spanish for “dry lagoon”) near Monterey, California
- The circuit measures 2.238 miles (3.6km) across 11 turns, with roughly 180ft of elevation change across the lap
- Its signature corner, the Corkscrew (Turns 8 and 8A), drops around 59 feet – the equivalent of a five-and-a-half storey building in just 450 feet of track
- Has hosted Can-Am, Trans-Am, Champ Car/CART, the American Le Mans Series, IMSA, IndyCar, and MotoGP across its history
- Corner names honour motorsport legends: Turn 2 is the Andretti Hairpin (Mario Andretti), and Turn 9 is Rainey Curve (Wayne Rainey)
Quick Stats
| Length | 2.238 miles / 3.6km |
| Turns | 11 (4 right, 7 left) |
| Elevation change | 180 ft (Corkscrew drop: 59ft) |
| Direction | Counter-clockwise |
| Opened | 1957 |
| Signature corner | The Corkscrew (Turns 8/8A) |
Laguna Seca – A Brief History
Laguna Seca has been a fixture of competition racing for years, hosting rounds of the IMSA WeatherTech SportsCar Championship as well as the SRO’s Intercontinental GT Challenge, whose “California 8 Hour” has brought factory GT3 programmes from Audi, Porsche, Mercedes, BMW, and more to fight over the Monterey hills. The track’s tight, narrow nature makes overtaking genuinely difficult in any car, and there are really only two or three passing zones in the whole lap, which puts a premium on qualifying and race strategy.
It’s also one of the few circuits where a car’s low-speed traction and body control matter almost as much as outright downforce, thanks to the sheer number of direction changes packed into such a short lap.
Turn 1
The lap starts with a fast, sweeping left-hander taken flat out with minimal steering input – this is about carrying speed and getting the car positioned for what comes next.
Stay smooth, keep the car settled on the way in, and drift gently towards the right-hand side of the track as you exit, since you’ll need every bit of the road for what’s coming at Turn 2.
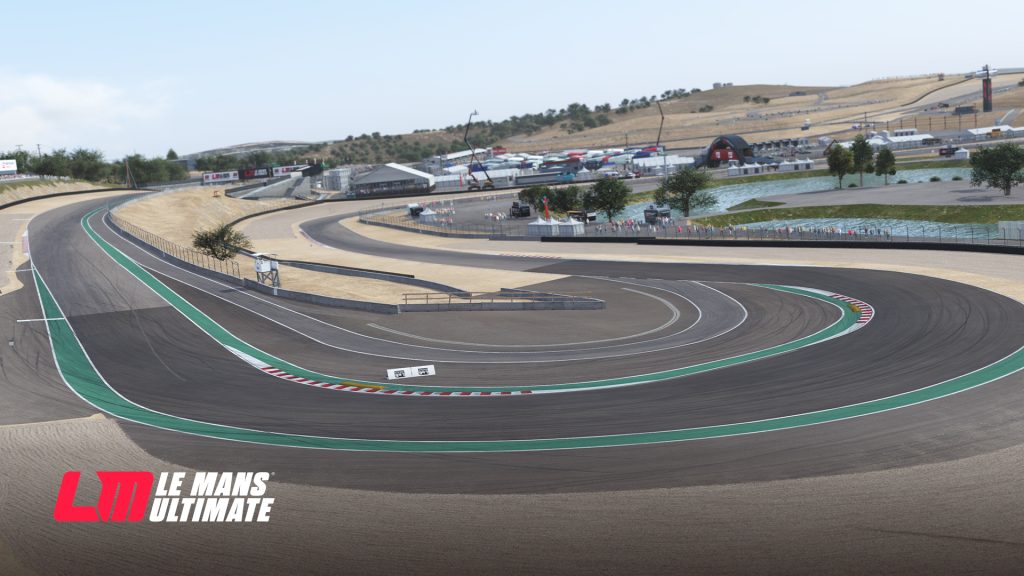
Turn 2 (Andretti Hairpin)
A long, downhill left-hander and one of the most important corners on the lap, since it feeds directly into short, sharp sequences, making car position at every point important for best execution.
Brake in a straight line on the way down the hill; the downhill camber makes it easy to unsettle the car if you turn and brake at the same time, so get your braking done early and keep the car pointed straight until you’re ready to commit. Aim for a rolling, mid-track line through the first phase of the corner before tightening towards the apex at the second curbing on the inside. Get back on the power progressively as you find the apex rather than snapping to full throttle, since traction is at a premium on the way out.
Turns 3, 4 and 5
This sequence is where Laguna Seca starts to punish anything less than precise inputs. It’s a rhythmic, flowing set of direction changes that rewards a driver who can find a repeatable rhythm lap after lap.
Keep your inputs smooth and progressive rather than sharp; this section is about carrying momentum through a series of linked corners, not attacking any single apex in isolation. Small mistakes early in the sequence compound by the time you reach Turn 5, so prioritise a clean, unhurried entry over an aggressive one.
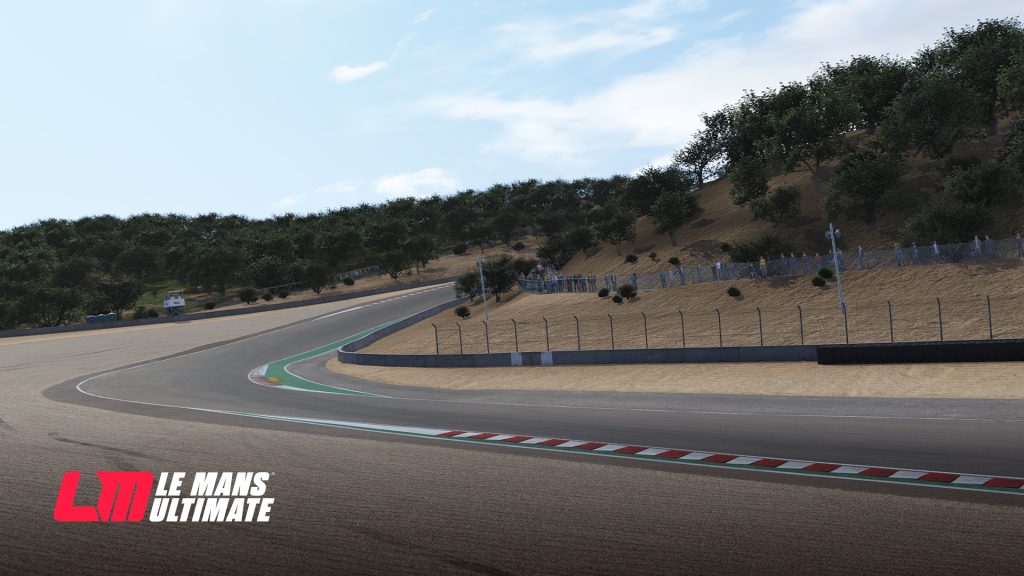
Turn 6 and the Rahal Straight
Turn 5 is the start of the climb at Laguna Seca and it leads Turn 6, which is a quick left-hand kink that spits you onto the Rahal Straight, the closest thing Laguna Seca has to a proper straight, and your best chance all lap to set up a passing move before the Corkscrew.
Get on the power as early and cleanly as you can out of Turn 6 – every bit of exit speed carries all the way up the straight and into your braking zone for the Corkscrew.
Turn 7 and the Corkscrew (Turns 8 and 8A)
This is the corner Laguna Seca is famous for, and it’s every bit as demanding in any car as its reputation suggests. Turn 7 is a fast approach corner that sets your line for the blind crest immediately ahead – get your positioning right here, or you’re already compromised for the Corkscrew itself.
The Corkscrew is a blind, downhill left-right complex where the track genuinely disappears from view over the crest. Braking happens before you can see the apex, which means the reference points you use in practice matter enormously – pick a consistent visual marker (a curbing edge or the white line just past the crest) and trust it rather than trying to see the corner in real time.
Turn in for the left-hander (Turn 8) committed to using the inside kerbing, then let the car fall away with the elevation drop as you transition immediately into the right-hander (8A). Keep the steering input smooth through the transition; this is a corner where a car unsettled by aggressive inputs will bounce off line and cost you far more than a smoother, slightly more conservative approach.
Get on the throttle progressively as the road drops away beneath you rather than waiting for the exit; the elevation change means the car’s weight transfer is already helping rotate you through 8A.
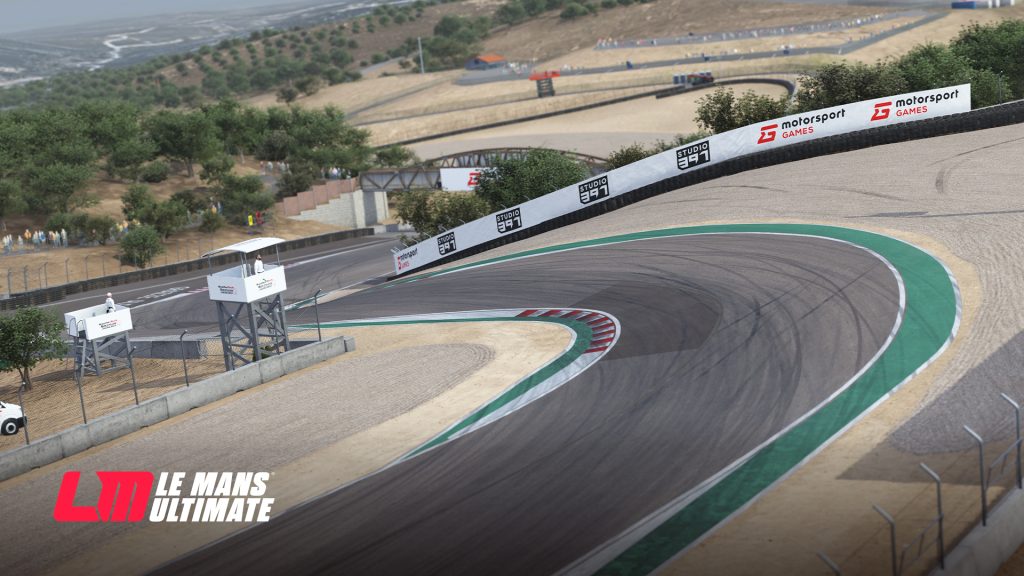
Turn 9 (Rainey Curve)
Another long, sweeping left-hander that follows the plunge down from the Corkscrew, taken while the car is still carrying significant speed from the elevation drop.
Turn along the centre of the track and look to hit the apex around the second half of the curbing on the inside. Be patient with full throttle on exit; you’ll still be picking up speed from the descent, and getting back on the power too early can easily unstick the rear before the car is properly settled. Let it drift out to the right before moving back to the left to tackle the final two corners.
Turns 10 and 11 (Final Corners)
The lap’s final sequence, leading back onto the front straight. These corners are tighter and slower than most of what’s come before, and a clean, well-judged exit here matters enormously given the straight that follows.
Brake in good time and prioritise getting the car pointed and settled over carrying maximum entry speed; a compromised exit here costs you the whole run down to Turn 1, whereas a slightly conservative entry rarely costs more than a few tenths.
This completes a lap at one of the most iconic road courses in world motorsport – short, relentless, and unforgiving of anything less than precision from start to finish.