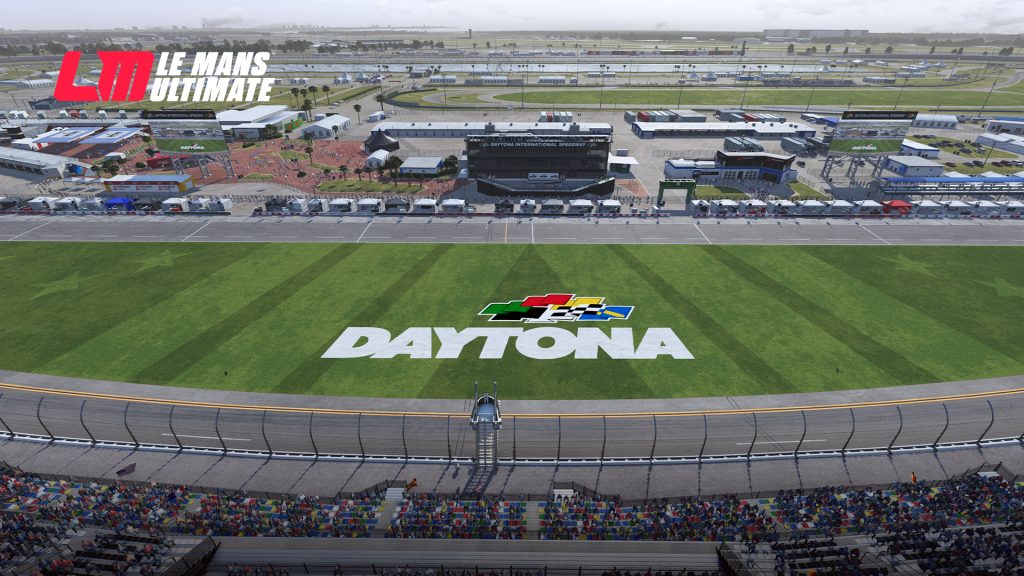
Daytona is unlike anything else in Le Mans Ultimate’s roster so far – a genuine “roval” where nearly half the lap is spent flat-out on NASCAR’s 31-degree banking, before you dive into a tight, technical infield that punishes any lack of precision. It’s fast, it’s intimidating, and it rewards bravery in completely different places to anything the WEC calendar has ever asked of you.
Before we get into the lap, here are some nice-to-know facts about the World Centre of Racing:
- Built in 1959 by NASCAR founder Bill France Sr., who wanted the banking steep enough to let stock cars run flat-out for the fans
- The road course measures 3.56 miles (5.73km) and uses 12 turns, blending the infield with the oval’s Turns 1-2 and 3-4
- Banking on the oval sections reaches 31 degrees, among the steepest anywhere in motorsport
- Home of the Rolex 24 Daytona, part of endurance racing’s unofficial “Triple Crown” alongside Le Mans and Sebring
- The Rolex 24 has run since 1966 and is traditionally raced through the night, with a large chunk of the field’s mileage completed in darkness
- GT3 machinery competes here as the GTD/GTD PRO classes in IMSA’s WeatherTech SportsCar Championship, sharing the track with GTP prototypes and LMP2 cars in a genuinely chaotic multi-class environment
Quick Stats
| Length | 3.56 miles / 5.73km |
| Turns | 12 |
| Banking (oval sections) | 31 degrees |
| Direction | Anti-clockwise |
| Opened | 1959 |
| Signature corners | Turn 1, International Horseshoe, Bus Stop Chicane |
Daytona International Raceway – A Brief History
Racing at Daytona has produced some of IMSA’s closest finishes of the modern era, with factory-backed Porsche, Corvette, BMW, Ferrari, Lamborghini, Mercedes, and Aston Martin programmes all fighting for class wins at the Rolex 24 in recent years. Multi-class traffic is one of the defining features of racing here, with GT3 cars sharing the 3.56-mile lap with GTP hybrid prototypes that are considerably faster in a straight line, and LMP2 machines; learning to manage blue flags and pick your passing zones is as important as outright pace.
The banking is what separates Daytona racing from anywhere else on the calendar. Cars that are midfield in slower corners can find themselves flat-out and drafting hard down the back straight and through the tri-oval, meaning slipstream battles and late-braking dives into Turn 1 are a Daytona hallmark.
Turn 1
Turn 1 is where the lap starts to bite. You’ll arrive here still on the 18-degree banking of the tri-oval, carrying big speed out of the draft, and the transition from banked surface to flat infield tarmac happens right as you need to get hard on the brakes.
Trail brake in deep and be patient with releasing the pedal – this is a wide-radius left-hander rather than a tight hairpin, so you don’t need to scrub off all your speed in one go. Suboptimal tyre and brake temperatures after the long run down the banking can catch drivers out here, so don’t expect the same bite you’d get from a corner preceded by heavy braking elsewhere on the lap. Aim for a committed, rolling-speed turn-in rather than stabbing the car down to a crawl.
Turn 2 (Kink)
Turn 2 arrives immediately after Turn 1 and is best thought of as a quick right-left kink rather than a full corner. By this stage the track has narrowed considerably, with a concrete wall hugging the left and grass lining the right, leaving very little room for two cars.
Most cars can take this flat, or with the smallest of throttle lifts. The priority is keeping the car settled and in a single-file racing line, because the width available through here disappears fast once you’re racing wheel-to-wheel.
Turn 3 (International Horseshoe)
Also known as the Rodriguez International Horseshoe, this tight right-hand hairpin is the standout overtaking spot on the lap and one of the trickiest, because the pit exit merges onto the racing line just before you turn in.
Entry speed is deceptively high given how tight the hairpin actually is, so this is a genuine late, committed braking zone. Expect a bumpy, uneven entry surface, which becomes even more of a factor as your tyres wear through a stint. Trail brake deep towards a late apex, and keep an eye out for cars merging from pit lane on your left as you set up – this is one of the most congested parts of the circuit during a multi-class race and many a race has ended through collisions with cars leaving the pits.
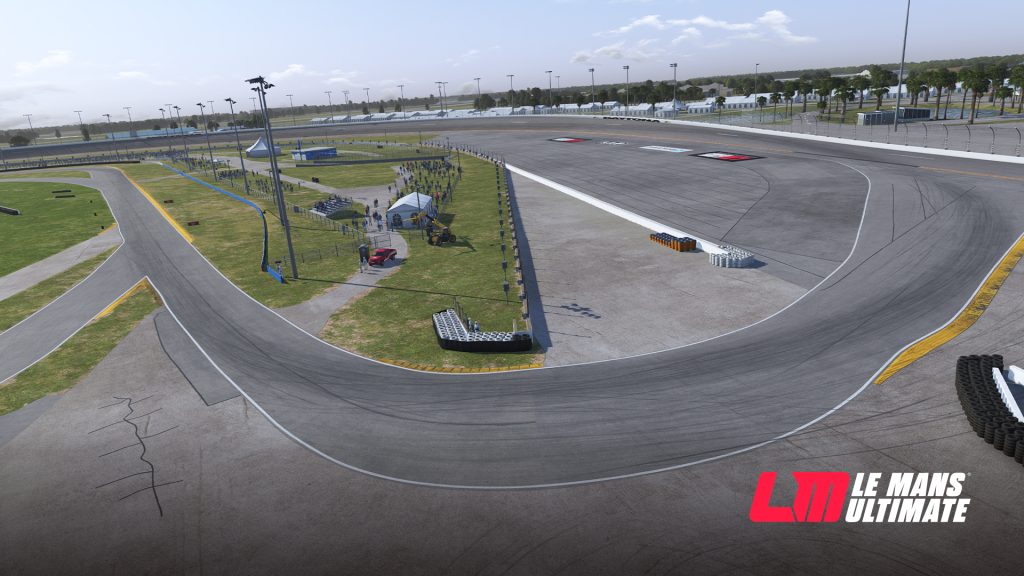
Turn 4
A flat, fast left-hander that follows directly from the Horseshoe. The main job here is simply carrying speed and getting your exit right, since the following straight is short and any speed lost through Turn 4 is speed you won’t get back before the next braking zone.
Turns 5, 6 and 7
This sequence is the technical heart of the lap; a run of slow, flat, tightening corners that flip from right to left as the track winds through the infield before eventually rejoining the oval banking.
Braking hard after Turn 4, you’ll work down to first or second gear for Turn 5, a slow right-hander, before picking up a little speed for Turn 6. Turn 7 tightens back down to first again, a flat left-hander that finally releases you back onto the banking. Precision and patience matter far more than outright commitment through this section; it’s low-speed, mechanical-grip territory, and a car that’s settled and rotated cleanly through each apex will carry noticeably more speed onto the banking than one that’s fighting understeer.
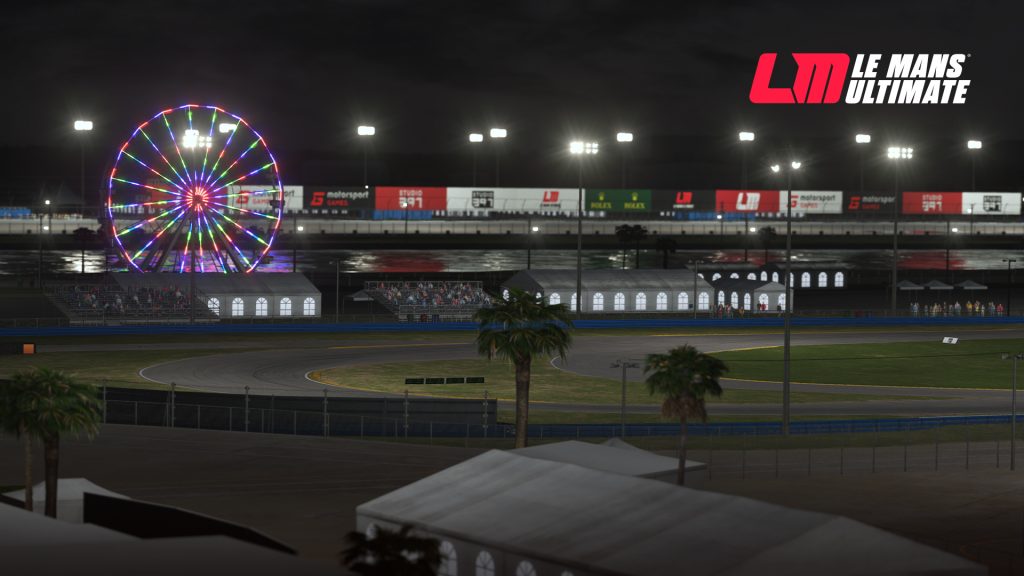
Bus Stop Chicane (Le Mans Chicane)
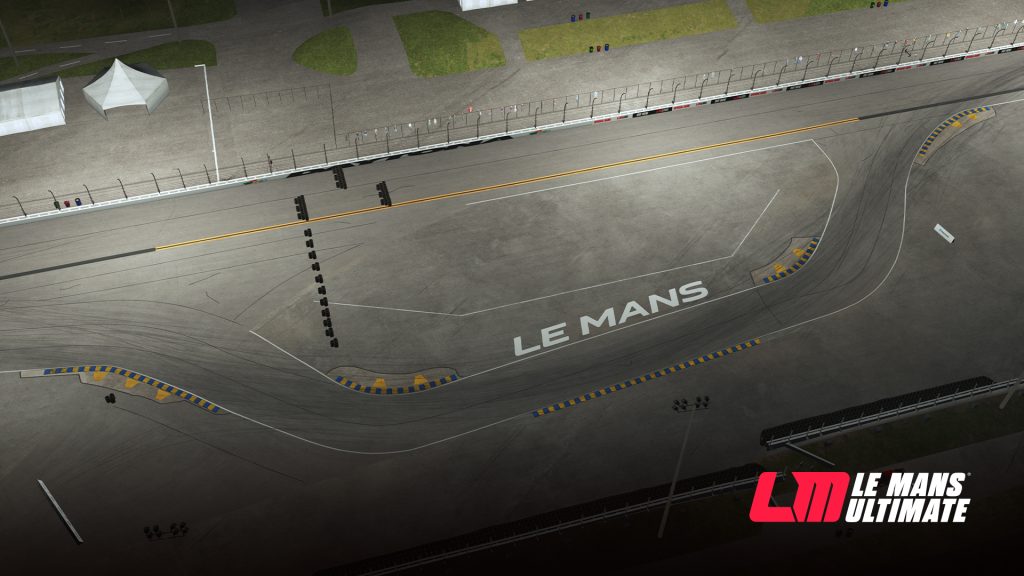
After a long blast around the high banking, you arrive at the Bus Stop, a left-right-left chicane positioned right at the end of the back straight, and one of the most important sections of the entire lap for lap time.
Braking begins shortly after the “2” marker board, and by this point you’re carrying high speed off the banking; this is a hard, straight-line braking zone. The fastest way through touches all four kerbs rather than trying to take a wide, sweeping line, so commit to using the inside kerbing generously on both the entry and exit legs.
Get this section right, and you’re rewarded with a strong run onto the final stretch of banking back to the start/finish line; get it wrong, and you’ll scrub off far more speed than the chicane actually demands.
Back to the Line
From the exit of the Bus Stop, it’s a long, flat-out run around the remaining oval banking back to the start/finish line; it’s a chance to breathe, check your mirrors, and start planning your approach into Turn 1 all over again.
Daytona rewards drivers who can switch mentality mid-lap: patient and precise through the infield, then bold and draft-savvy the moment you’re back on the banking. Nail that balance and you’ll find real pace over a stint, and over 24 hours, that balance matters more than a single quick lap ever will.